
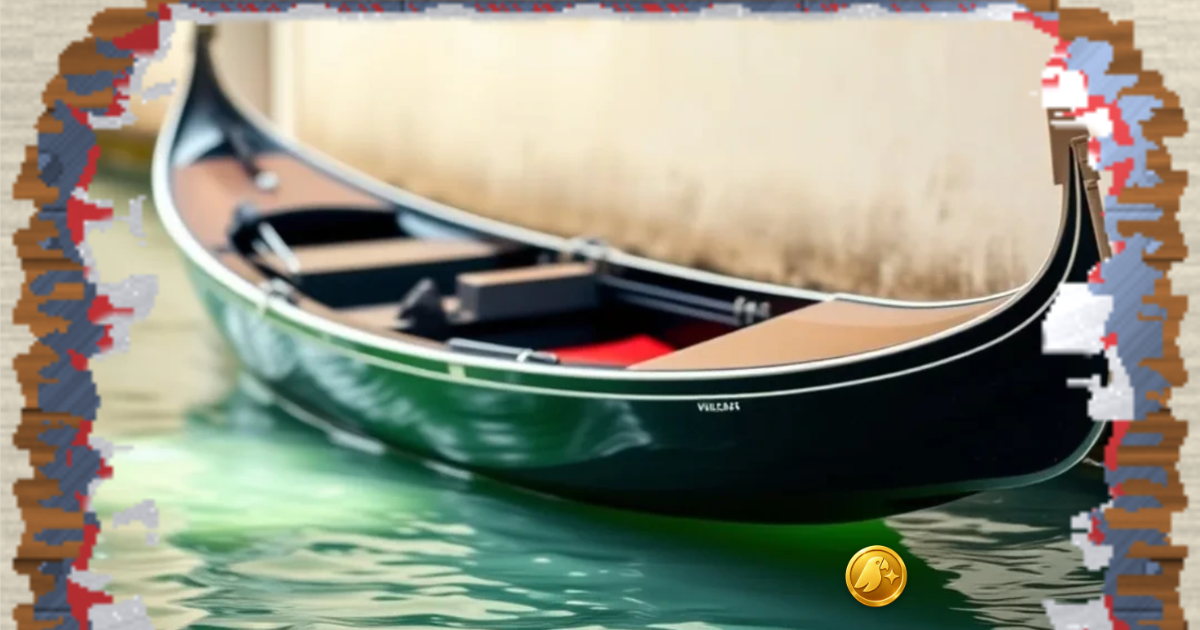
Move a coin across a pale surface and you might expect a picture to appear. Instead, you uncover wood, then a metallic patch, with the image still waiting underneath. In Scratchia, you can choose one, three, five or ten coverings over a picture. That changes the experience of revealing it, as well as the amount of work. Here is how the layers fit together, how to choose a starting point, and what you see when another person joins the same picture.
Our screenshots show a catalogue picture of a gondola on a canal and a private room with two test participants. We chose five layers to make several materials visible in one small area. All three screens come from the Scratchia iPhone app. Your picture and the shape of your marks will differ; there is no pattern you need to copy. The useful part is noticing what changes when you return to a mark.
Choose the number of layers first
Find a picture in the catalogue and tap the layer-count label on its preview. A dropdown offers 1, 3, 5 or 10 layers. Choose a count; our example uses five. Then tap the preview to start or resume that version. The saved percentage appears on the preview, with a progress bar below the title. The information icon opens the picture details screen, where you can also choose the layer count. There you can start, continue, view a finished result or check picture records. Reveal together leads to room creation.
One layer is enough to get used to moving the coin and watching a picture appear. Three introduce a sequence of materials. Five suit a session where you want to revisit a small area and uncover it more deeply. Ten offer the longest sequence, with more intermediate coverings between the surface and the image. These are choices about the work you want to do, rather than levels you must complete in order.
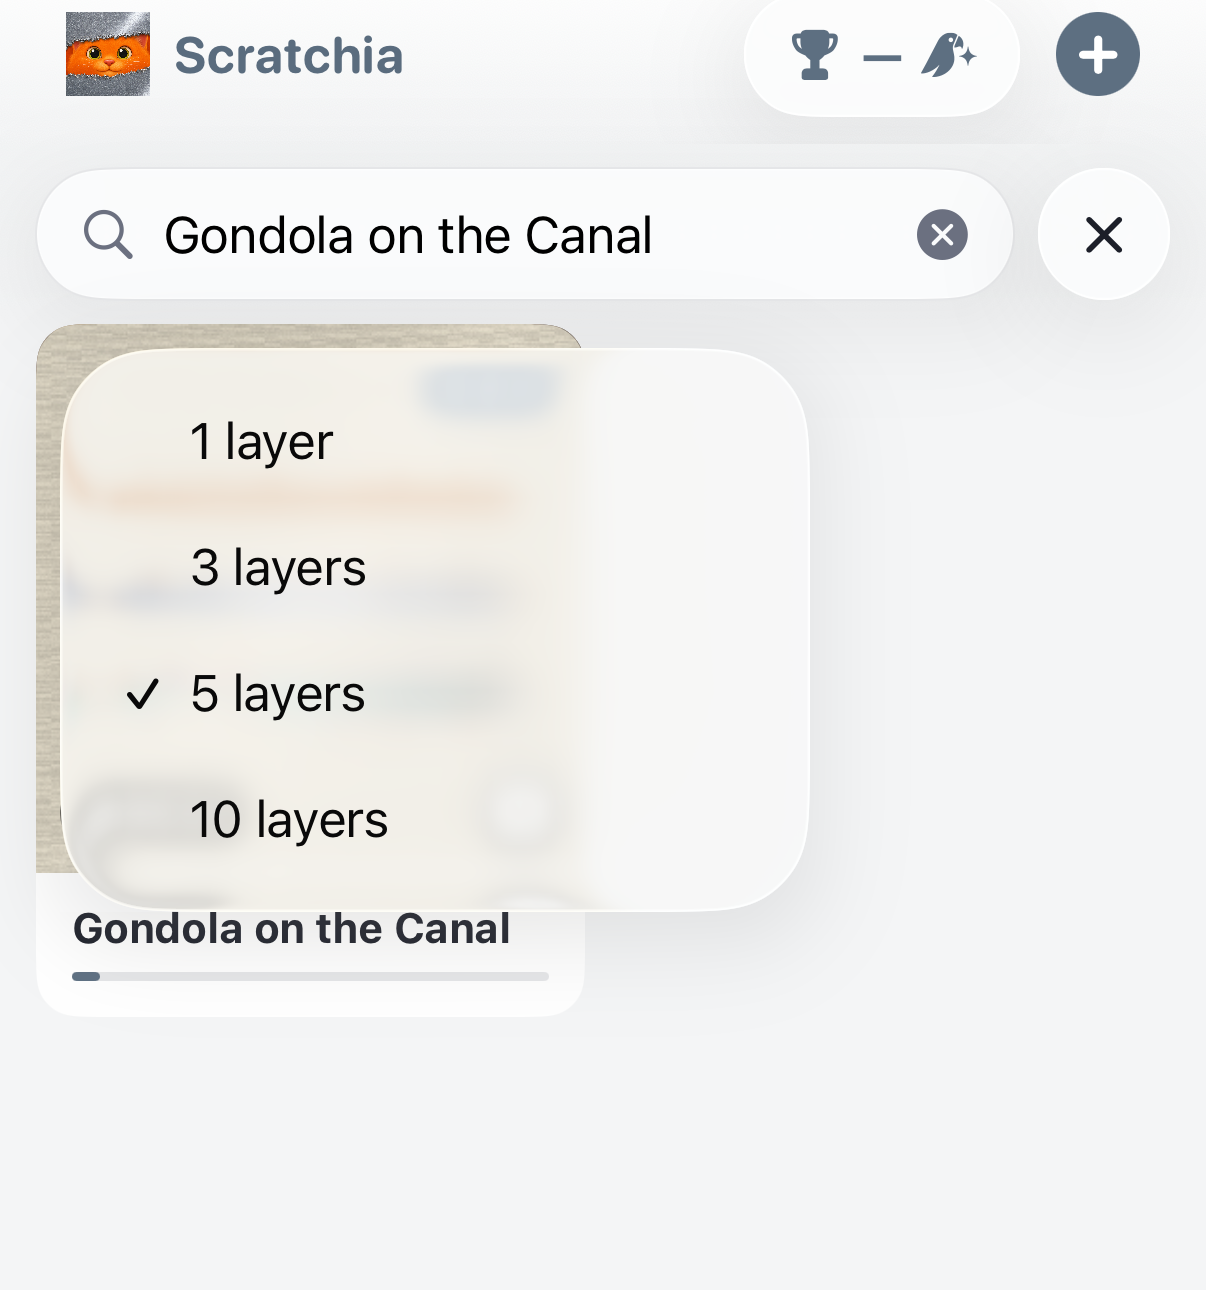
Do not turn those numbers into a promise of a particular finishing time. The area you work on and the way you move the coin also matter. For a first try, choose a version and make a few short strokes. A single covering is the simplest route to seeing part of the image; three or five give you more changes of material to explore along the way.
What lies below the surface
The multilayer versions have a fixed material order. A three-layer picture has wood on top, steel underneath and foil directly above the image. The five-layer version adds cream paper on the outside and red wax between the steel and foil. Paper, wood and metal can therefore appear next to one another on the same canvas. Those areas have reached different depths.
The ten-layer sequence is longer: cream paper, blue paint, wood, steel, red wax, kraft paper, green paint, dark wood, copper and foil. You do not need to memorise it to play. It explains why another stroke may reveal a new colour or texture while the picture itself remains hidden. You are uncovering the surface gradually, with something else to discover before reaching the image.
Each successive material is not necessarily harder: wax and paper also appear between tougher coverings, with foil directly above the picture. In new works, foil and metal wear away gradually, so returning to a mark matters. Previously started works retain their original scratching physics. Watch the area you are opening rather than expecting one movement to have the same effect on every material.
Why another pass matters
Start with a small strip near the middle of the canvas. Move the coin across it, release your finger or mouse button, then make another stroke alongside it or over the same place. The first pass may reveal another material. The image shows through as the final foil thins and becomes fully exposed when it is removed. Repeated strokes help even when the outline of the opening barely changes.
In our process screenshot, three tracks run through pale paper. Brown, grey and red patches appear inside them. These are different depths of one picture, rather than separate images stacked together. Upper coverings remain around the edges while parts of the middle go deeper. Compare two neighbouring tracks: a repeated stroke makes the difference easier to see than trying to clear the entire canvas at once.
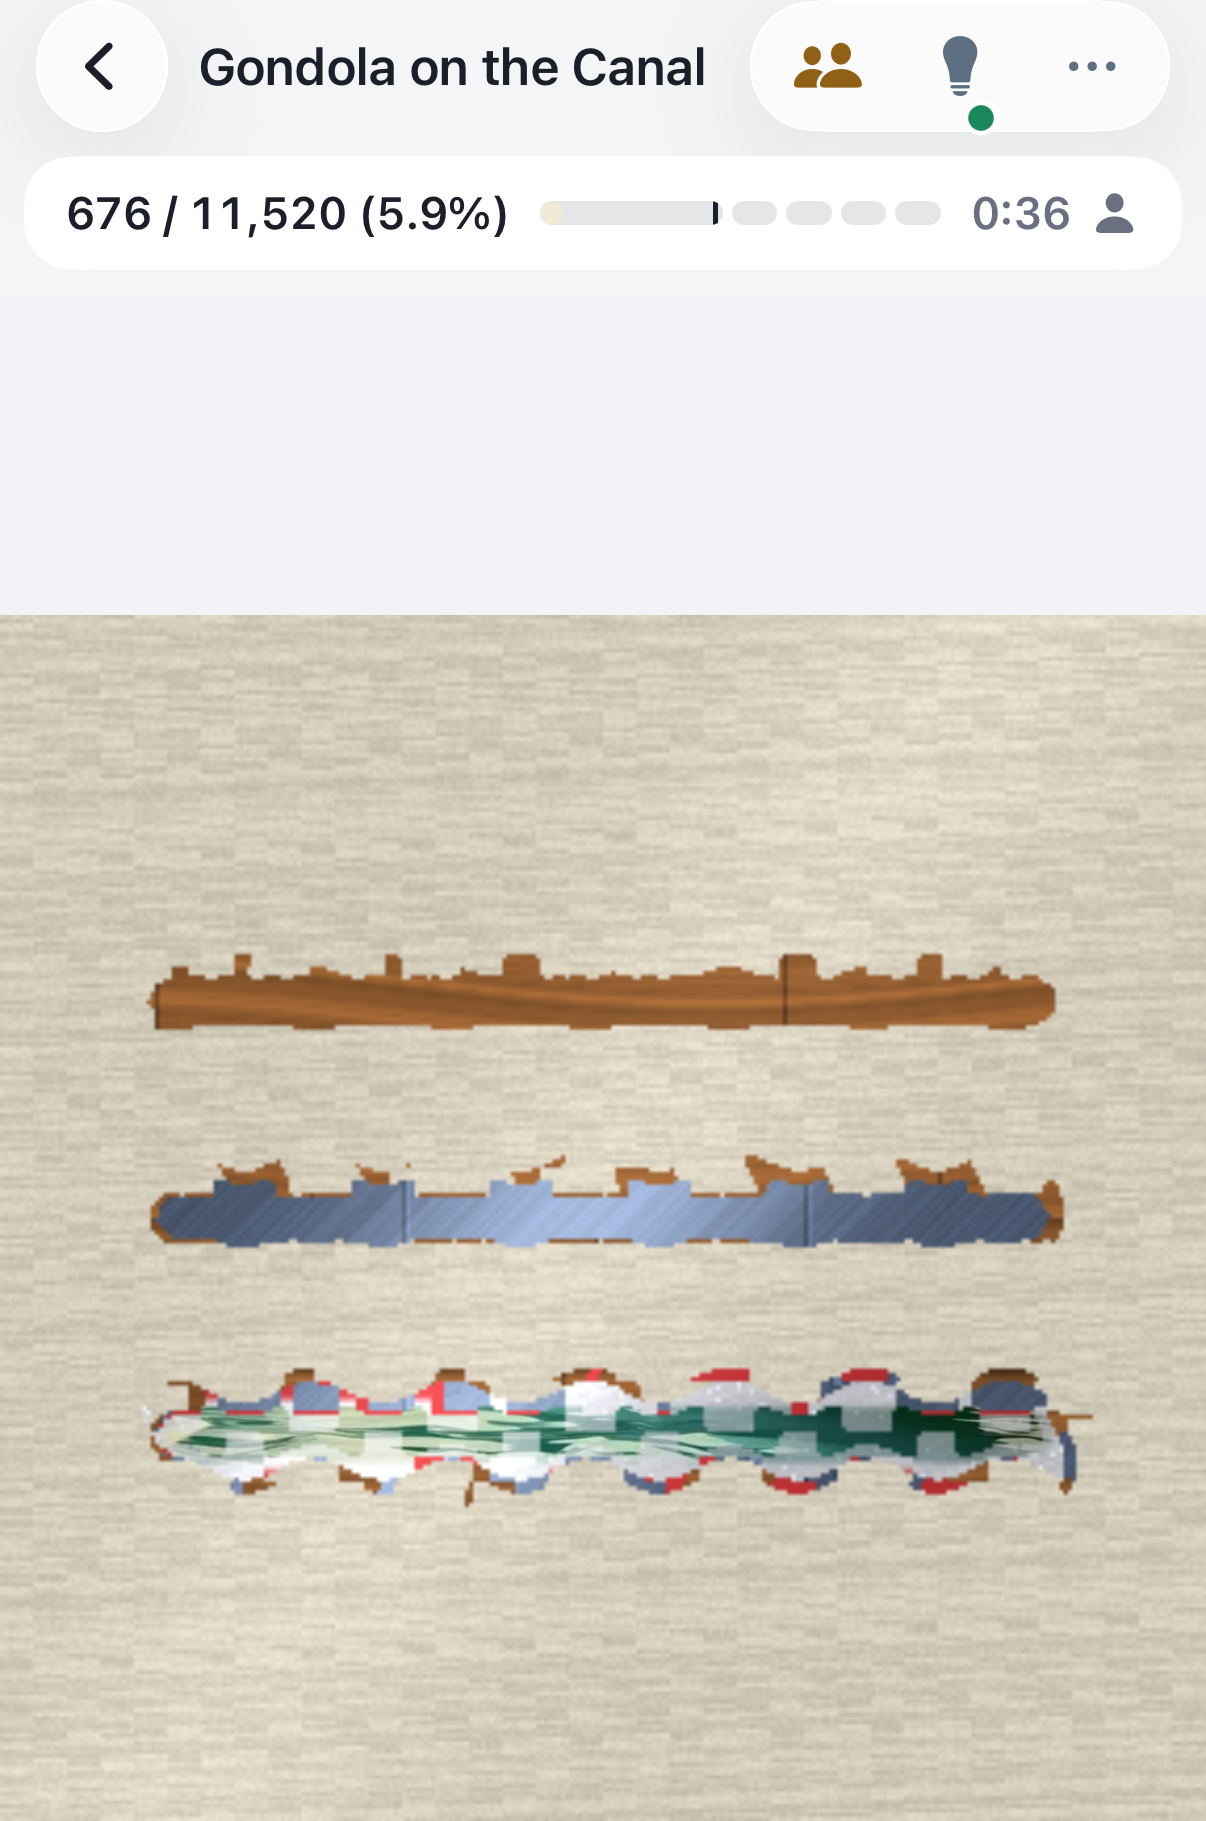
You can work in strips from an edge or open small windows in several places. Strips make the overall boundary easy to follow; separate windows let you compare depths. Either approach leaves areas you can come back to. There is no need to remove the whole top layer evenly before exploring what lies beneath one small section of it.
A picture alone or together
In Solo mode, you choose the direction and pace. Select a started version from the catalogue card’s dropdown and tap its preview to continue. Remember the layer count: the same subject with three coverings and with five represents different versions of the work. The saved percentage appears on the card preview. Overall progress appears above the canvas beside the material strip; completed versions have a check mark on the card.
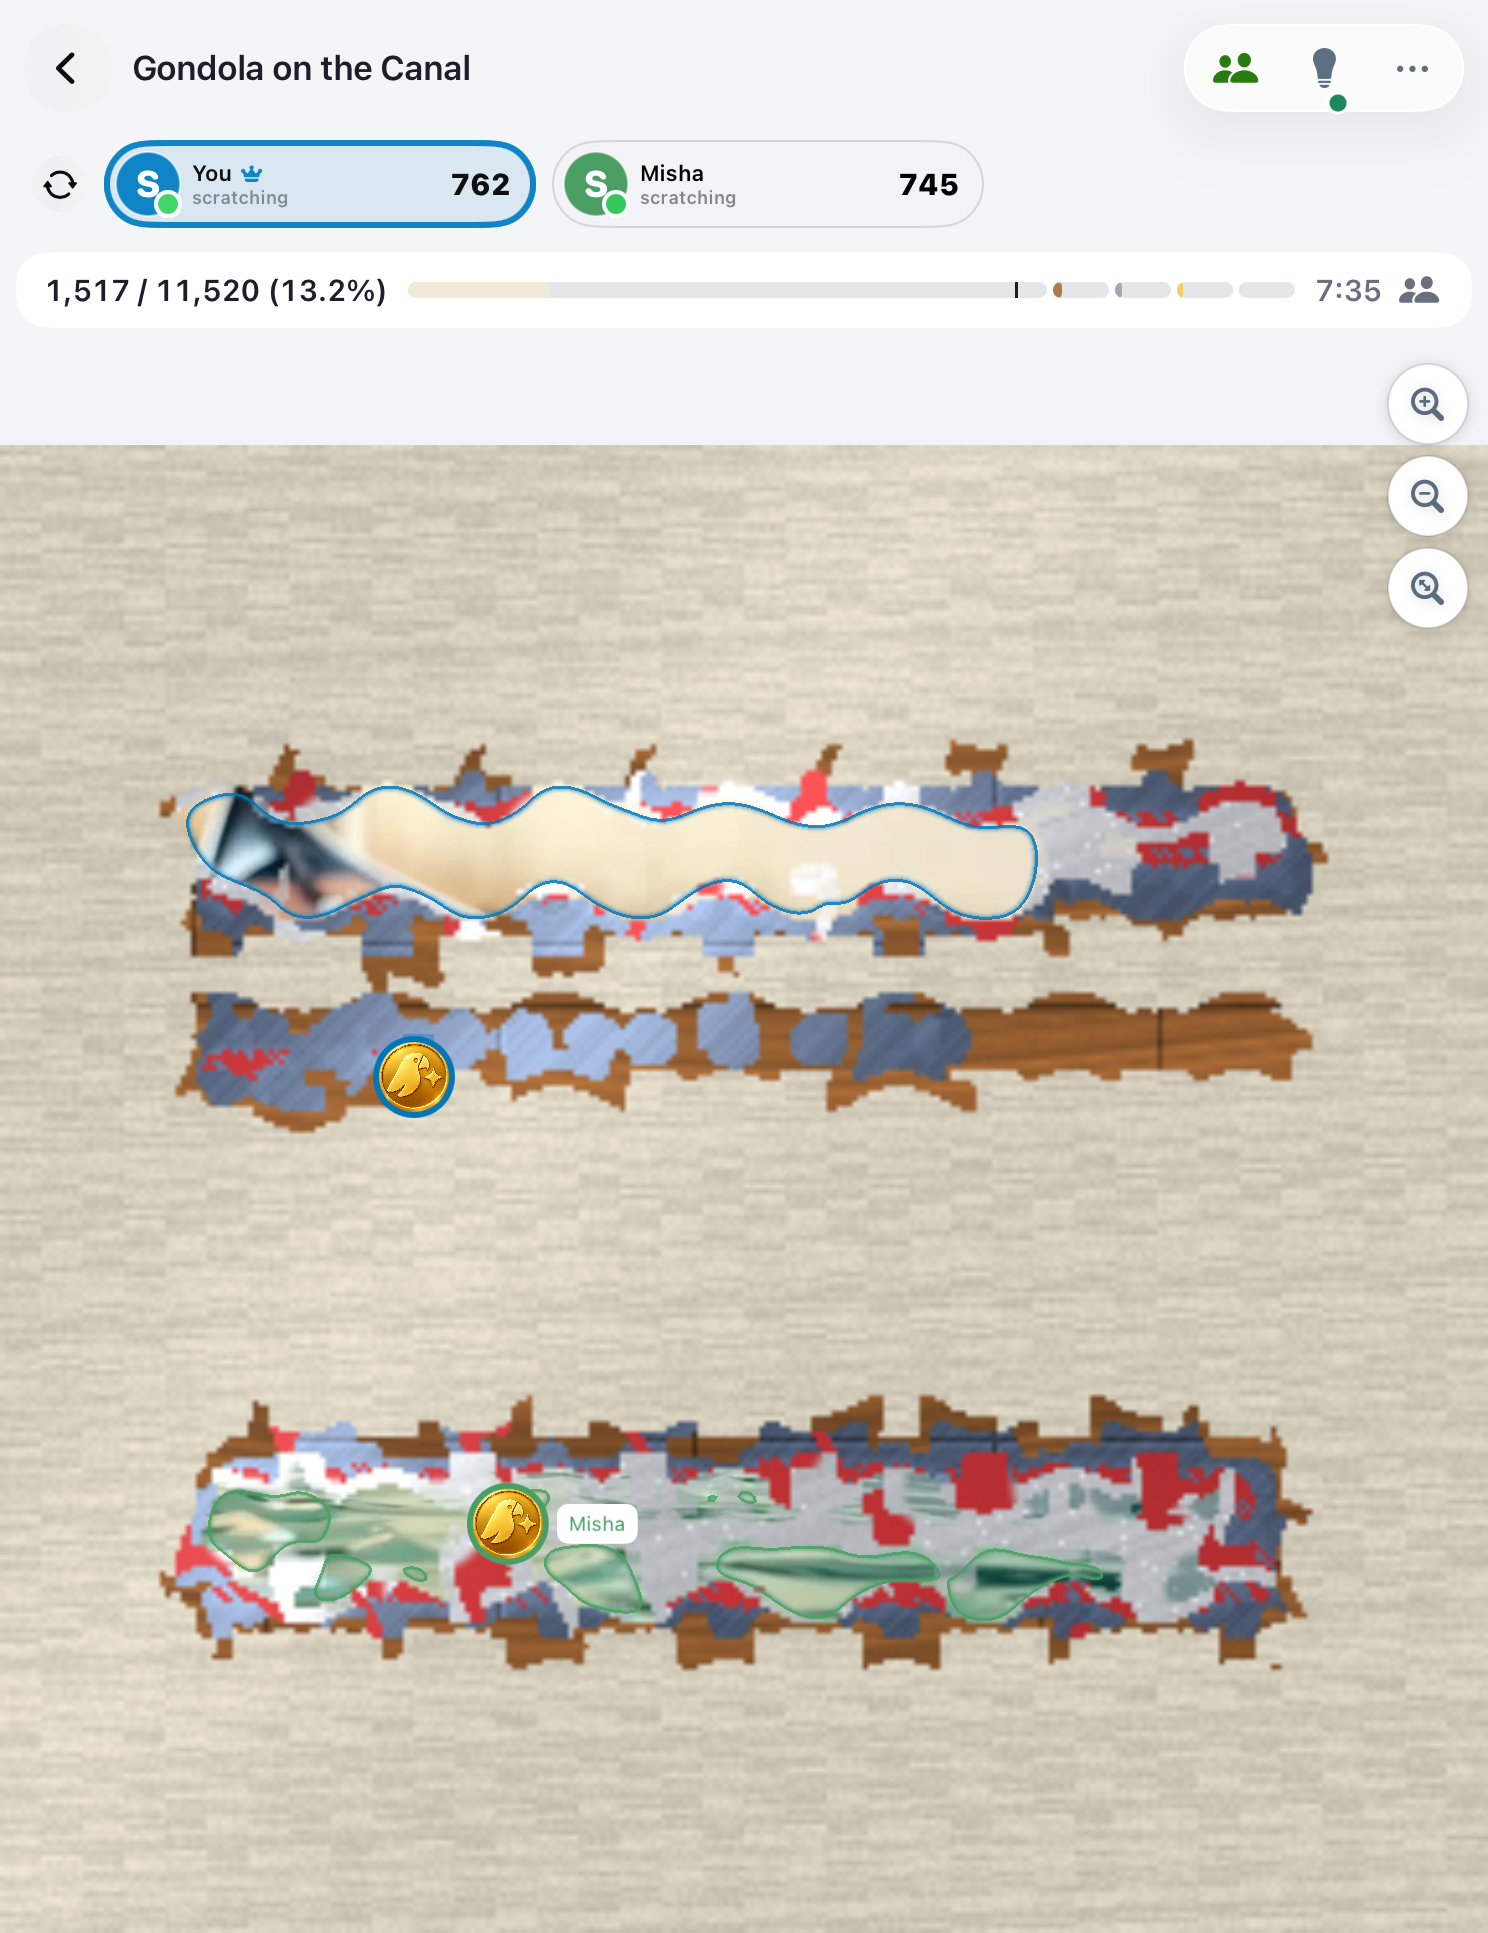
In Together mode, participants work on a shared picture. For our example, two test participants joined one private room. When the second participant scratched the covering, the first could see that action. One person can work towards the centre while another explores an edge, with both sets of changes appearing on the shared canvas.
Participants have coloured identifiers and coins. Another person's small coin marks their position on the canvas, with a name and activity label nearby. The row at the top shows participants and their contributions. A coloured rim helps connect a movement with its author. If a coin briefly covers a detail you want to see, look again after that person moves to another area.
Artpoints and the picture of the day
The coin on the canvas is a scratching tool. Artpoints are the app's currency; they are a separate thing from the coin showing a participant's position. Completion rewards can have several components. The base depends on the number of layers and requires sufficient activity; finishing very quickly can result in a zero base reward. Choose ten layers for the experience rather than expecting a guaranteed reward from any quick run.
In a shared room, the base reward belongs to the common result and is divided according to contribution and a participation threshold. Simply entering is not the same as doing part of the work. Daily and record rewards are accounted for separately. Use the completion screen to understand the artpoints you received for that result. A number in someone else’s screenshot does not establish the conditions for your session.
For a fresh subject, open the Day tab. The daily picture gives you a starting point when you would prefer not to browse the whole catalogue. This article shows the catalogue gondola picture, not a promised subject for October 6: the daily selection changes. Look at today's choice in the app and decide which coverings you feel like uncovering.
Your first attempt can stay simple: pick a picture, choose a layer count, make a short stroke and return to it once more. Once the material changes make sense, widen the opening or bring in another participant. Part of the pleasure of Scratchia is watching what appears between the first touch and the last covering, as well as finally seeing the picture beneath them.